How to create a mailbox on android. How to set up mail on Android: step by step instructions
Read also
Creation Email by using mobile phone(smartphone) is no more difficult than if you use a PC or laptop. Of course, there are some nuances that need to be taken into account. We will show you how to create mailboxes on several of the most famous services.
Let's start with Gmail, which is owned by the Internet giant Google. The peculiarity is that you use the created account in all services of the company, including even Play market. Therefore, for registration, we recommend using just Play app Market, which is available on any Android smartphone.
gmail
First of all, of course, you need to connect to the Internet. It is possible to mobile, it is possible to Wi-Fi - it's up to you. Without a network connection, registering mail will not work.


You are prompted to enter a login from an existing account, or create a new one. Choose the second option.


On the next page, enter your date of birth and gender.

The most important thing is to create a username for your account. It must be unique, not busy.

If you use any popular word, it will most likely be taken, and the system will inform you about it and offer to replace it. By the way, you can use a phone number as a login.

If the login is unique, you will be prompted to come up with a password of at least 8 characters. The harder the better, just don't forget it! The password must be entered twice.

Adding a phone number or not is up to you. At the time of writing, there is a choice. Whether it will be possible to create an account without being tied to a phone in the foreseeable future, we cannot say for sure.

Read and accept the terms of use.

The account is almost created. If the username is correct, click "Next".

You will also be asked to provide payment information. Indicate them or not, it's up to you. In any case, you can add them later at any time - to pay for applications and other content in the Play Market.

As soon as you see the Play Market start page, it means that the account has been created.

You can use it in all Google services. Please note that logging into the Gmail app on your smartphone if you register Play account Market happens automatically.
Yandex
We will create Yandex mail using the official website of the search engine.
Open a browser.

Enter yandex.ru in the address bar and press the enter key. Will open start page Yandex. Click Mail.

You will be prompted to enter your username and password from your account, but since you do not have one yet, click on the "Registration" line.

Another option is possible when another page opens, where you need to click on the "Create an account" button. The essence does not change.

As in the case of Google, it also uses one account for all the company's services. Fill in the data, including first name, last name, unique login, password. It is highly desirable to indicate the phone number in order to be able to restore the mailbox, although at the time of writing the article, binding is not required: in this case, you need to ask a security question and answer it.


After specifying all the data and clicking on the "Register" button, the main page of your mailbox will open.

Mail.ru
open home page Mail.ru service, find the "Registration" button opposite the "Mail" icon.

Go through registration, for which you indicate the name and surname, gender, desired mailing address(the same unique login), a password is required, for example:

In short, nothing complicated. A phone number is also attached here - in case of loss of access. If everything is correct, click on the "Register" button.

Enter the captcha, click "Continue".

You are logged in Personal Area, mail registered.

By the way, you can choose the end of the mailbox on Mail.ru during registration.

Rambler
Another popular Mailbox— Rambler. As in the previous case, we will register mail using a mobile browser.
Open a browser, enter rambler.ru. On the main page of the service, tap on the "Login to mail" button.

Here click "Register".

As in the previous cases, you need to fill in information about yourself. Nothing complicated.

Click on the "Register" button.

Registration successful.

The main page of the service has opened.

The end of the mailbox during registration can be selected.

As you can see, nothing complicated. Moreover, often registering mail from a phone is even easier than from a computer.
Modern smartphones running operating Android systems can perform different tasks on which the user could spend his time. The use of email is one of basic needs most people and accessing it from their smartphone is often not just a convenience, but a necessity.
The Android OS integrates the ability to configure email. Setting up mail on android does not require special knowledge and time and is completed in a few minutes. You can set up mail on your device in two ways: using built-in tools or downloadable applications.
Using built-in tools
If the user already has an email Gmail, then the issue is resolved by adding the appropriate account in the device settings. After that you need account synchronize, which will result in the download of all letters to the device. Under the configured account, you can both send and receive letters.
If the user has an account from other mail services, then you need to open standard application“Mail”, where the system will prompt you to enter your email address and password in the appropriate fields. After that, you need to select the type of account. In most cases, this is POP3, but before setting it, it is advisable to check this item with the provider. Next, you need to follow the instructions and as a result, the mail client will be configured to receive and send letters.

Some users may have a question - how to set up mail on android with your own domain name, and not from Gmail or other common services? Setting up mail with your domain takes place in exactly the same order as described above and when correct setting the mail client will work with any mail.

Setting up Yandex mail requires special attention, as the company insists on using a separate application. In order to set up an email client, you first need to go to the mail through the site. Next, in the settings you need to select " Email programs”, where you need to set the necessary checkboxes. After that, you need to create an account in the above way.
If an error message appears during setup mail client, then you need to visit the website of the mail service, where the data for setting up mail on Android is indicated.
Setting up mail using the app
Setting up mail on Android using specialized applications is the easiest and most fast way. Depending on which email service your account belongs to, you can download from Google Play corresponding application. Many mail services like Yandex, Gmail, Rambler offer their own free and reliable applications for working with letters.

In addition to individual applications, there are many third-party email clients, such as MailDroid or K-9 Mail, which also allow you to fine-tune the reception and sending of letters from any email address.
E-mail from Mail.ru today is one of the leading in the Internet space. For users whose work is related to the exchange of information in this mail service, the company of the same name released an application for mobile devices on Android. Next, you will learn how to set it up for comfortable use.
The mail client from Mail.Ru for Android provides almost the same features and functions as its desktop version. Here you can send images, videos, documents of various formats, music and much more. Now let's move on to setting up the application.
Are common
- To get to the settings panel, swipe to the right, or click on the three horizontal bars in the left upper corner screen, thereby bringing up the application menu. Then tap on the button in the form of a gear.

- In the tab "Notifications" move the slider to the active position, select a melody different from other signals and set the time when the application will not notify you of new letters. Here you can also enable several filters and select email addresses from which incoming letters will not be accompanied by a sound signal.

- Next tab "Folders" allows you to create another folder, in addition to the preset ones. A very handy feature for storing important emails. To create it, click on the plus button.

- In point "Filters" you can add addresses that will be automatically processed and sent to the specified folder or marked as read. To do this, on the first page, click on the plus button, then add the required email address in the input line and below select the action that will be applied to it.

- The next two options and "Upload images" apply to downloading files sent to you. In the first tab, select in which cases the mail client will download attachments, in the second - specify how images will be downloaded: manually or automatically with a good connection.

- Next, check the boxes next to the required items in the application.

- If you do not want someone else to be able to log into the Mail.Ru mail client from the device, then in the tab PIN&Fingerprint You can set up password or fingerprint login. To enable PIN protection, check the corresponding box and then enable the appropriate settings.

- In the tab "Sound Settings" select an action that will be accompanied by a specific signal.

Accounts
In the next two subparagraphs, you can set a profile photo and write a signature text. 

Decor
This group of settings contains parameters for adjusting the appearance of the list of messages.

Having analyzed in detail and applied all the sub-items of the settings, you will be pleased to work with e-mail in the Mail.Ru Mail application.
If you have an email account on your domain [email protected] and you want to receive mail on your Android device then read this guide on how to set up your email.
What will you need
Before you start, check for:

Adding a new email account on Android
You can use any email client on your Android device. For example, we are going to use the Gmail email client, but most of the steps will be pretty much the same in any other email program.
First of all go to the mail client app on your android device and here in the section Settings -> Add Account.

Select Other from the list and add your email account.

Enter your email address email and press Next.

Select which type of incoming mail server you want to use - POP3 or IMAP. Generally, it is recommended to use IMAP because you can keep all your emails in sync with different devices. Both protocols are fully supported on Hostinger.

Enter your password for your email account and click Next.

In the settings of the incoming server, you need to fill in the correct address of the mail server. On Hostinger you can find your server name under Control Panel –> Mail Settings. After filling, click Next.

If you are using a hosting service other than Hostinger, it is possible automatic configuration the mail server will not work. In this case, the mail client program may request the following data:
- username (Username)- your email address.
- Password (password)– your email account password.
- server- usually you can use your Domain name or mail.yourdomain.com. Contact your hosting provider for more information.
- Port (port)- port numbers may also depend on the provider, but the default ports for POP3 and IMAP are:
- 110 POP3 without SSL
- 143 IMAP without SSL
- 993 IMAP with SSL
- 995 POP3 with SSL
- Security type (security type)- this option is used if you want to use mail server with an SSL/TLS certificate. If you are not using a certificate, then select None.
- Delete email from server (delete emails from the server)– if you want to delete emails from the north when you delete them in your email client, then select the option When I delete from Inbox. If you do not want to delete messages from the server, then select Never (never).
Just like with the incoming server, you need to change the name of the outgoing mail server.

If you are hosting from a different provider than Hostinger, you may need to manually enter the SMTP port and select the security type. It is recommended to select a security type SSL/TLS or STARTTLS and check with your ISP for SMTP ports. When all the data is filled in, click Next.

Select the time interval with which you would like your emails to be synchronized with the server. If you do not need to check your mail frequently, we recommend that you select the highest value for this setting in order to reduce battery consumption. Additionally, you can choose when emails arrive, sync emails from this account, and automatically download attachments when there is a Wi-Fi connection. If all settings are accepted, then you will receive a confirmation message.

That's it, now you can use your personal email address on your email client on your Android device.
Conclusion
Following the descriptions of the steps in this guide, you will be able to solve the problem: how to set up email on Android. Now you can read and reply to email from your phone.
Author
Elena has a professional technical education in area information technologies and programming experience in different languages for different platforms and systems. She has devoted more than 10 years to the web sphere, working with various CMS, such as Drupal, Joomla, Magento and of course the most popular content management system today - WordPress. Her articles are always technical and accurate, whether it's a WordPress review or how to set up your VPS server.
This article will show you how to create an email on your phone using both built-in applications and downloaded from various sources.
Step-by-step instruction
- The Gmail mail client shortcut is a standard application for any Android device. First you need to go to the program and enter your personal data in the appropriate fields, click the "Next" button.

- The system will then prompt you to select an email address.
- Then you need to come up with a password that must contain at least 8 characters.

Advice! A good password is one that contains numbers and letters of the Latin alphabet in different case. Since it is this password that is the most difficult to crack.
- In the next step, enter your mobile number phone in international format.
You can skip this step, but it is not recommended to do this, because if you lose access to your account, the phone number is the simplest, fastest and most reliable way restore it.

- Then you need to accept the terms of use and the privacy policy of working with the application by clicking the "Accept" button.

- After that, the user will see his data on the screen and all the services that are available to him to enter through this email address.

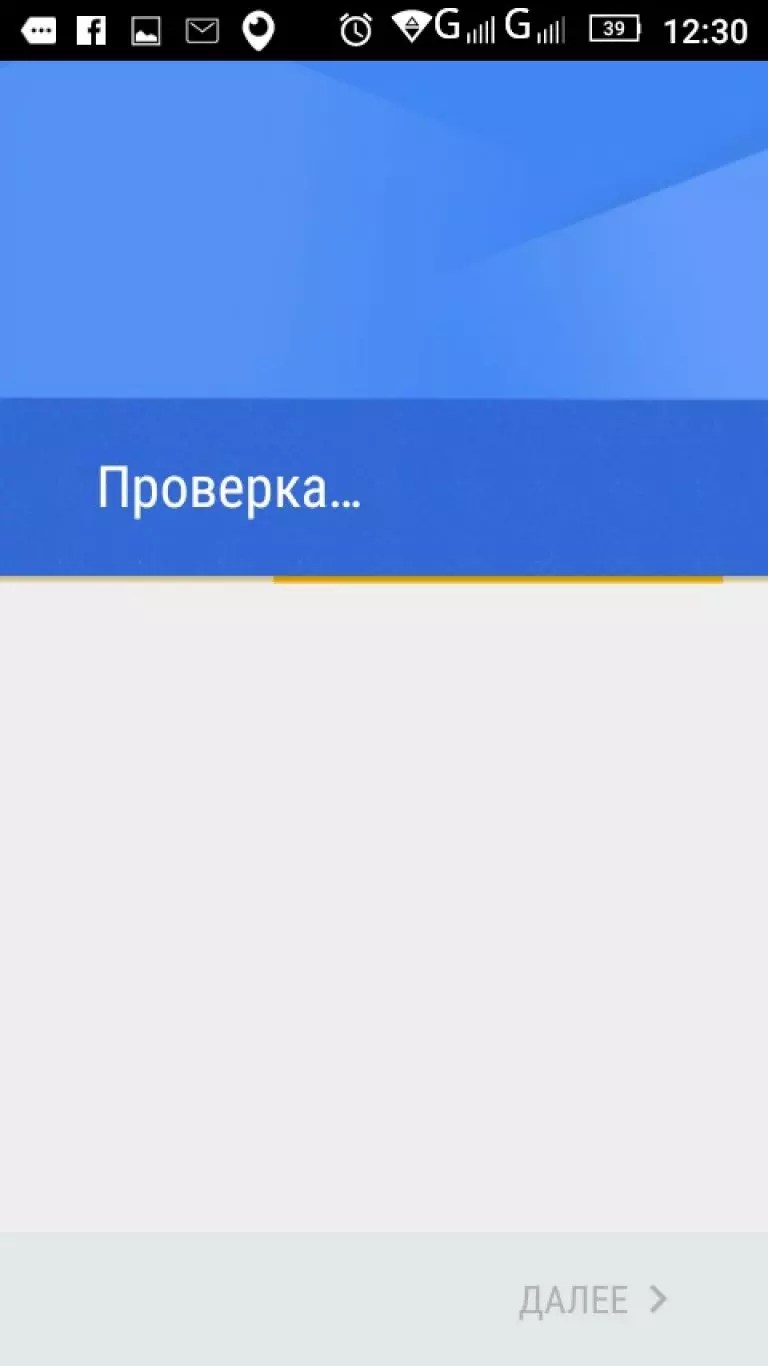
- Wait for the end of the check by clicking the "Next" button.
- After the verification is completed, the system will prompt the user to subscribe to news from Google by clicking the "Next" button.

After registration, the user automatically gets to the main page of his mailbox.

Setting up a mailbox through the Mail app
To create mail on another server on devices with operating system Android has a special standard Mail application.
In the market, you can download other programs, the settings of which follow the same principle as the standard one.
If the box already exists and you need to install it on an Android phone, then you need to follow the following instructions.
- Sign in to the Mail app

- First you need to enter your email address and click the "Manual Setup" button
- In the second stage, the system will prompt you to select the type of account. He chooses depending on the domain on which the box is registered.
In the case of working with mail.ru, you need to select "Personal (IMaP)" when there are no accounts in the system or Personal (POP3) for those smartphones on which accounts were previously created.

- Then enter password

- After that, you need to configure the mail server and enter or replace the following data for "Personal (IMaP)"
- IMAP server- imap.mail.ru;
- Type of protection- SSL/TLS;
- Port - 993
"Private(POP3)"
- POP3 server- pop.mail.ru;
- Type of protection- SSL/TLS;
- Port - 995
