How to make a border around a photo in photoshop
A frame on a photo allows you to separate the picture from the surrounding space and give it a more finished look. In this article, we will talk about how to make a frame around a photo in Photoshop.
Stroke a photo
The easiest way to make a frame in Photoshop is to use the layer properties.
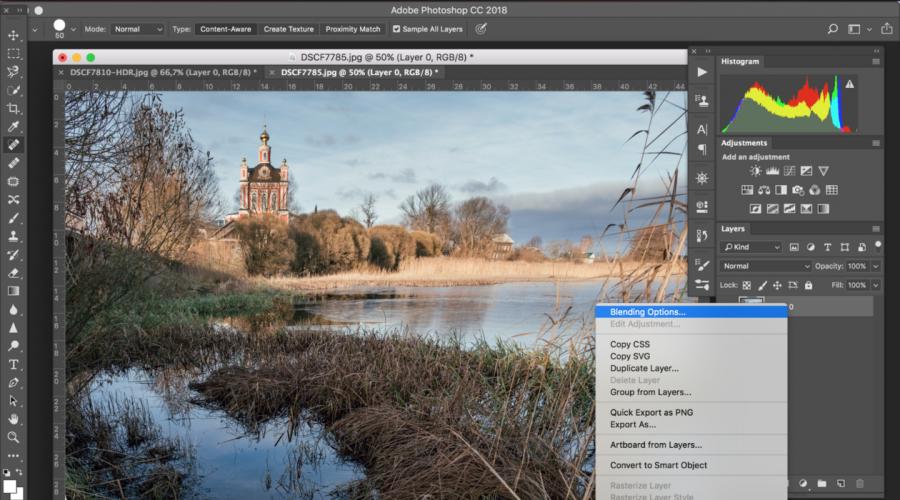
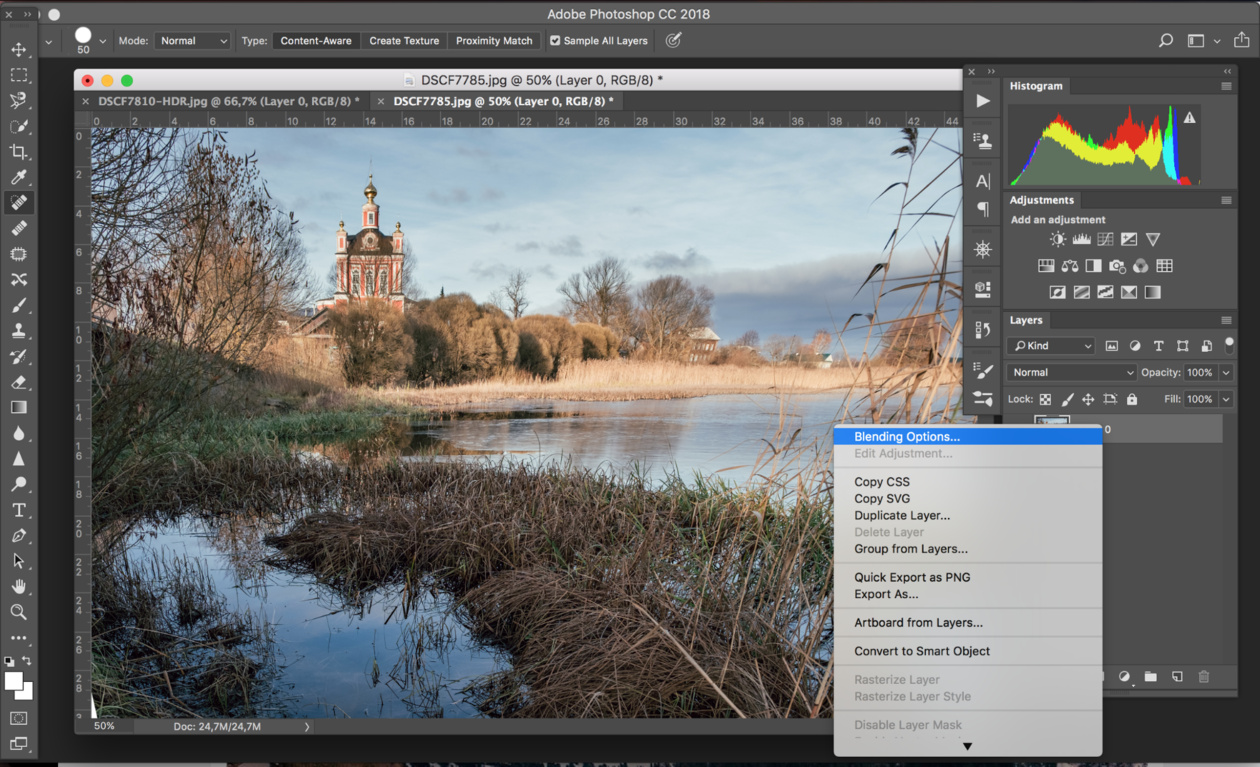
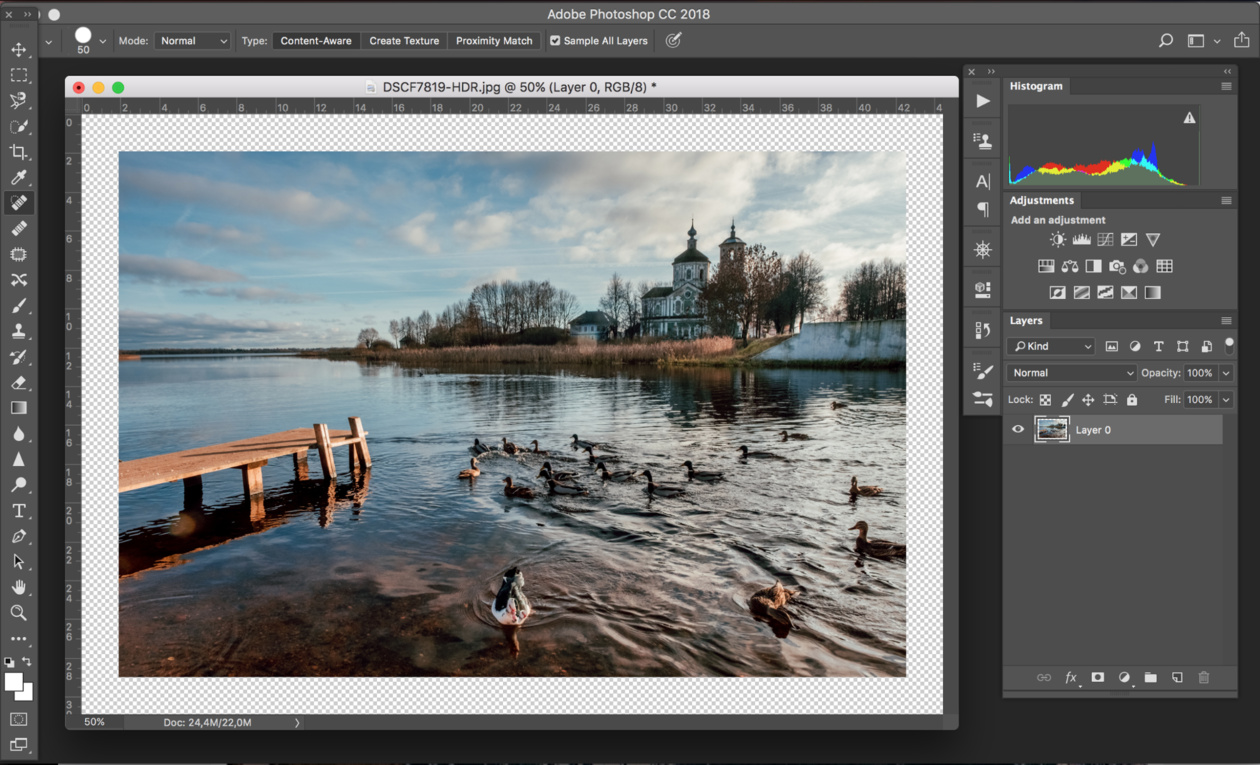
Open the photo in Adobe Photoshop. On the layers panel, right-click on the layer with our photo. If the layers panel is not visible, then you can open it using the menu item Window / "Window" → Layers / "Layers".
If the photo has one layer, then it will be the main one. A lock icon will appear next to its image in the layers panel, which means that the layer is locked to prevent accidental edits.
In order to unlock it, simply double-click on this layer with the mouse. The lock will disappear, and the layer itself will be called Layer 0. After that, right-click on the layer and select the item in the context menu Blending Options / "Overlay Options".
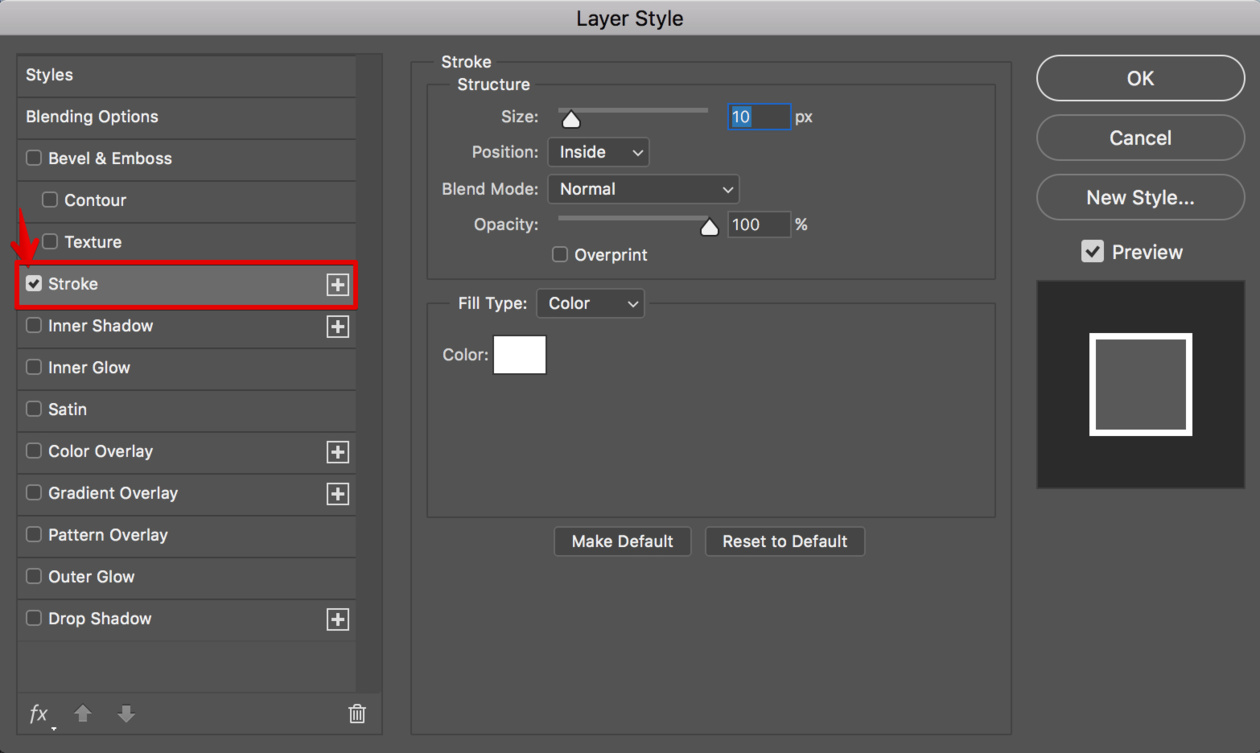
The dialog box that appears is a little scary with the number of items, but we only need two of them.
The paragraph is responsible for adding a stroke along the edge of the frame. Stroke / Stroke. We find it in the left panel and mark it with a tick. After that, in the central part, you can set the stroke parameters:
- Size- stroke width in pixels. The higher the resolution of the photo, the higher this value must be for a noticeable effect.
- Position / "Position"- stroke position. Possible location options inside, outside and in the center. We have a stroke around the edge of the frame, which means that all options, except for the location inside (Inside), do not make sense.
- Blending Mode / "Overlay Mode"- stroke overlay mode.
- Opacity / "Opaque"- the density (opacity) of the stroke.
- Color- color.
In principle, this is enough to draw a line of one or another thickness around the perimeter of the frame, but you can go even further and make the frame more creative.
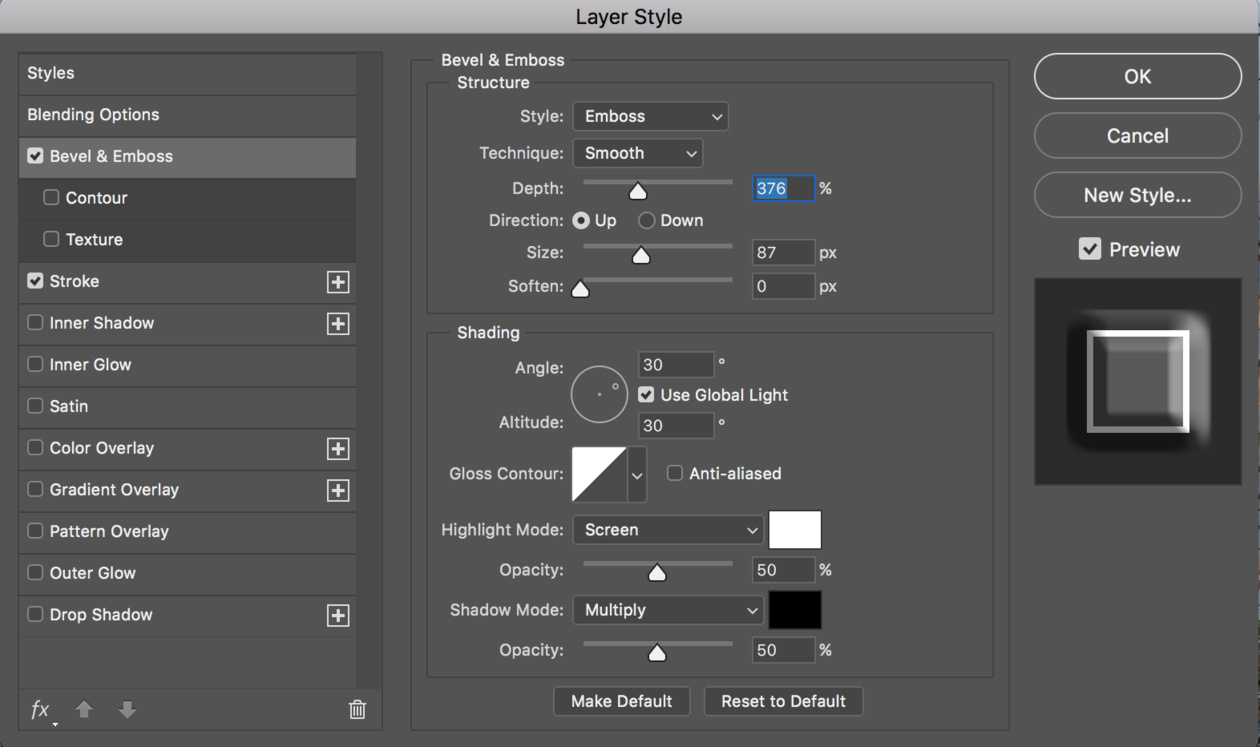
So, you can add volume to the frame using the settings Bevel & Emboss/Embossing. Their choice here is quite large, and the effect on the image of each is clearly displayed on the preview, so we suggest just trying different options and choosing the right one.
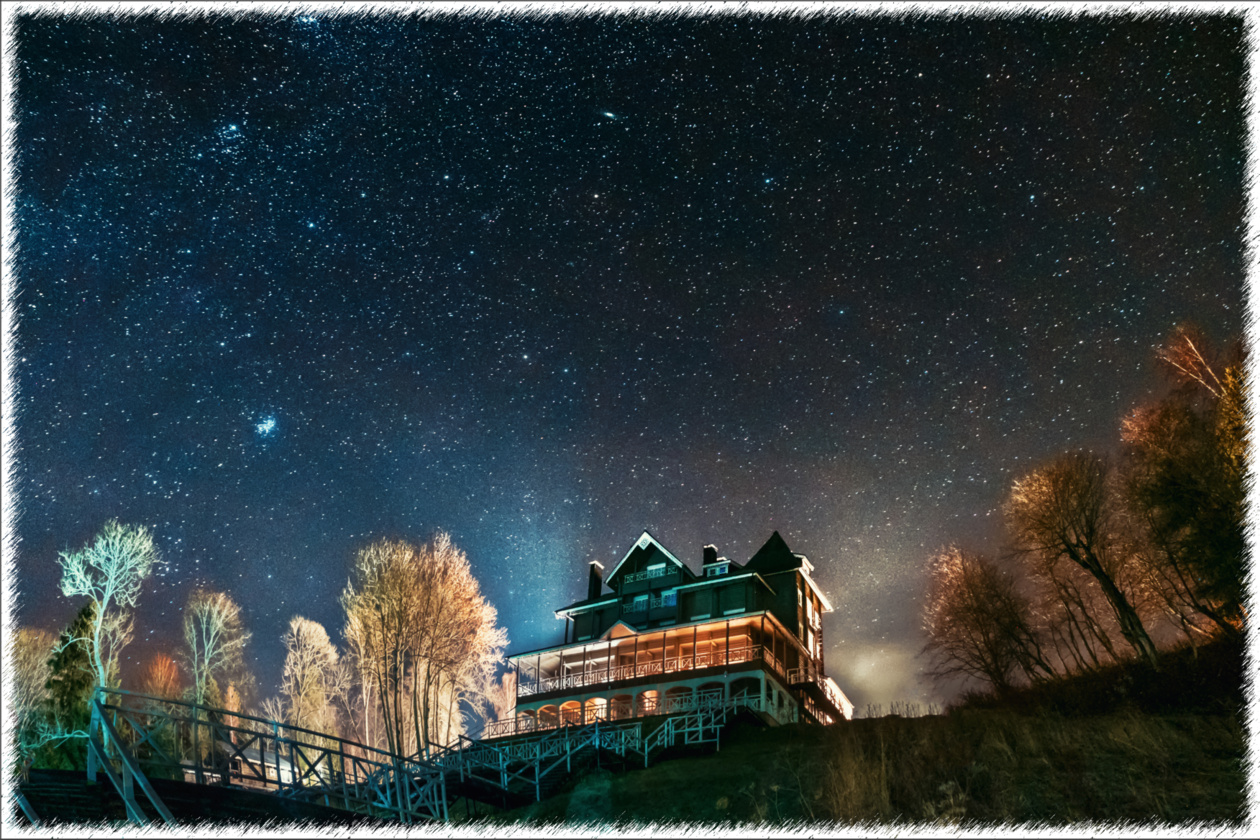
Result:
Inner frame
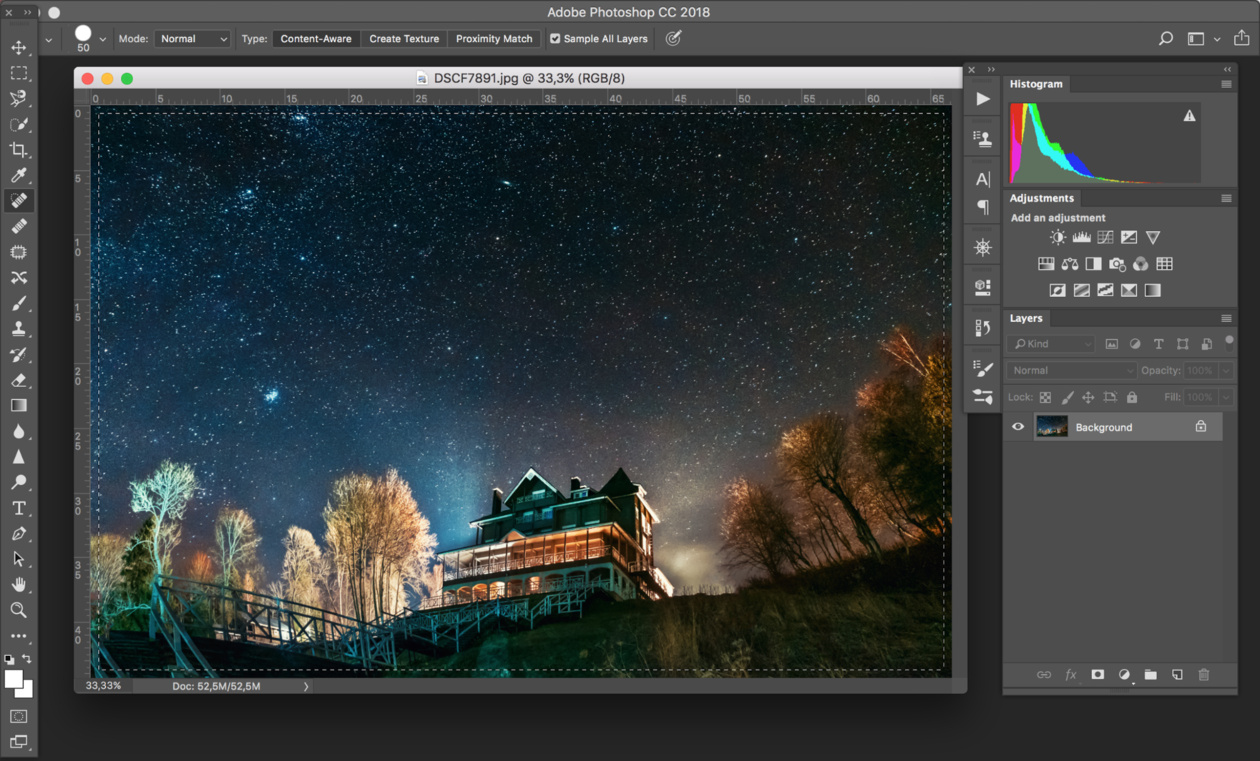
Open the photo in Adobe Photoshop. In order to make a white frame in Photoshop, you need to select the entire photo. You can do this either by using the keyboard shortcut Ctrl+A, or using the menu command Select / "Selection" → All / "All".
After that, the entire image will be outlined by the so-called running ants, which are an alternation of white and black strokes.
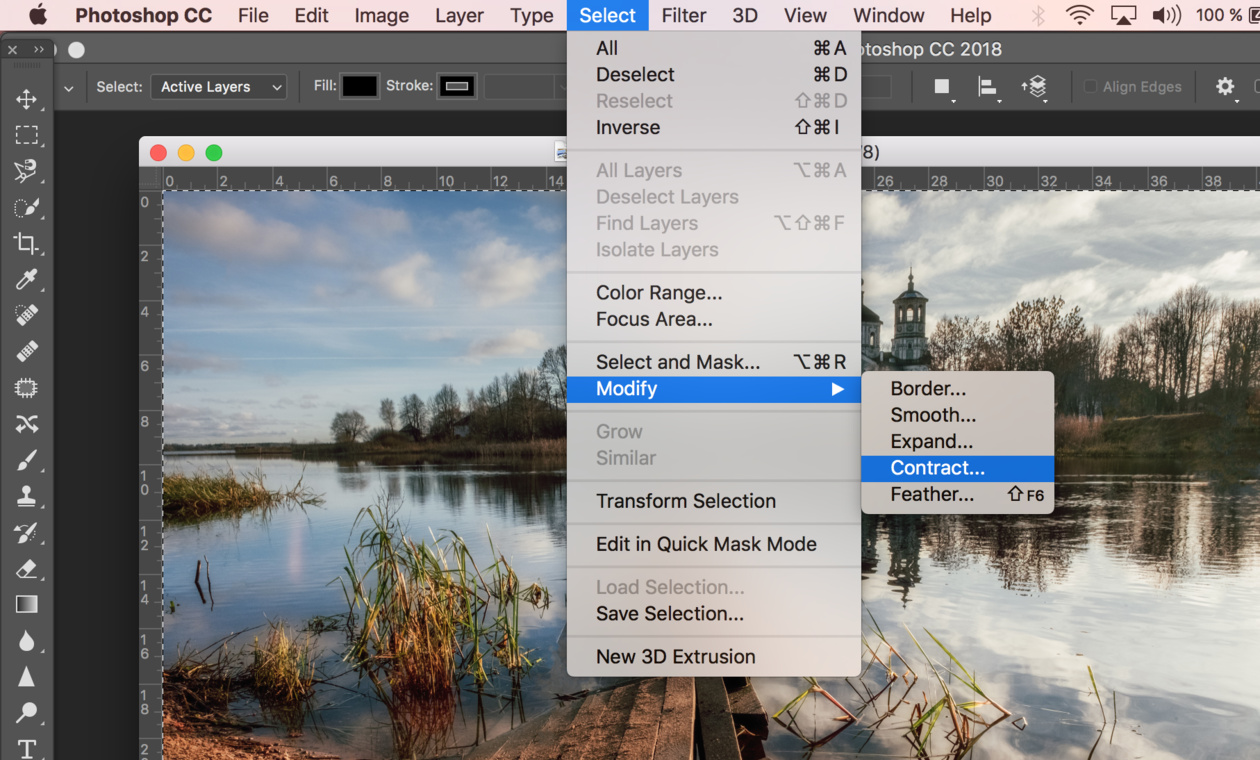
After the photo is selected around the perimeter, you need to make sure that the selection takes place exactly where the frame is needed. To do this, we use the command Select / "Selection" → Modify / "Modification" → Contract ... / "Compress ...".
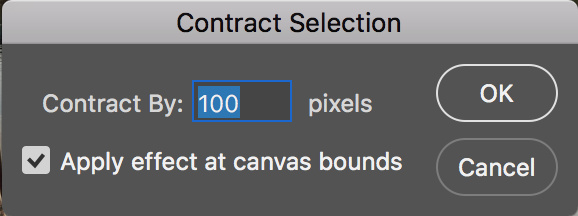
In the dialog box that appears, you will need to enter the indent in pixels from the edge of the frame, on which the frame should be located. The indent will be made inward. The amount of padding depends both on how far from the edge you want to frame the photo, and on the resolution of the original image. Don't forget to tick Apply effect at canvas bounds / "Apply effect on canvas bounds", which indicates that the indent should be done from the border.
Click Ok and we see that the selection has shifted to the center of the frame. If the position of the future frame suits us, then we move on, if not, we cancel the selection using the key combination Ctrl+D and repeat all over again until we find the ideal position.
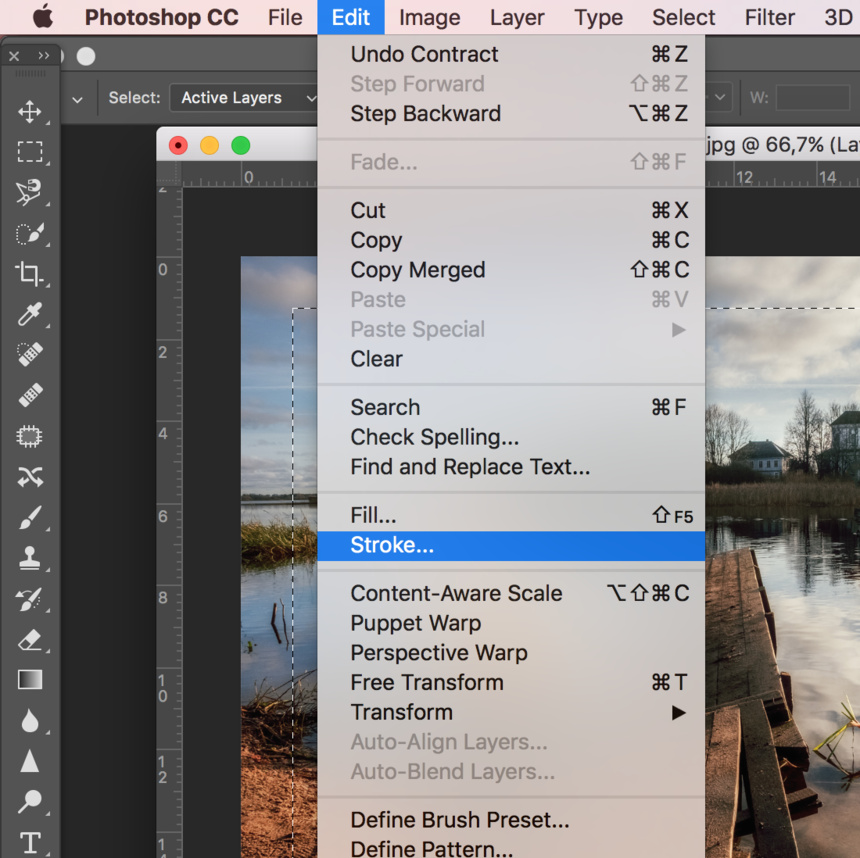
When the desired selection position is chosen, you just need to stroke along this path. To do this, we use the command Edit / "Editing" → Stroke ... / "Stroke ...".
In the dialog box that appears, set the stroke parameters: the thickness and color of the line, its position relative to the selection, and the overlay options.

In this example, we have specified that the stroke should be 3 px thick and white. And it should be located in the center of the selection. This means that the selection line in the form of "running ants" will pass through the center of the future stroke.
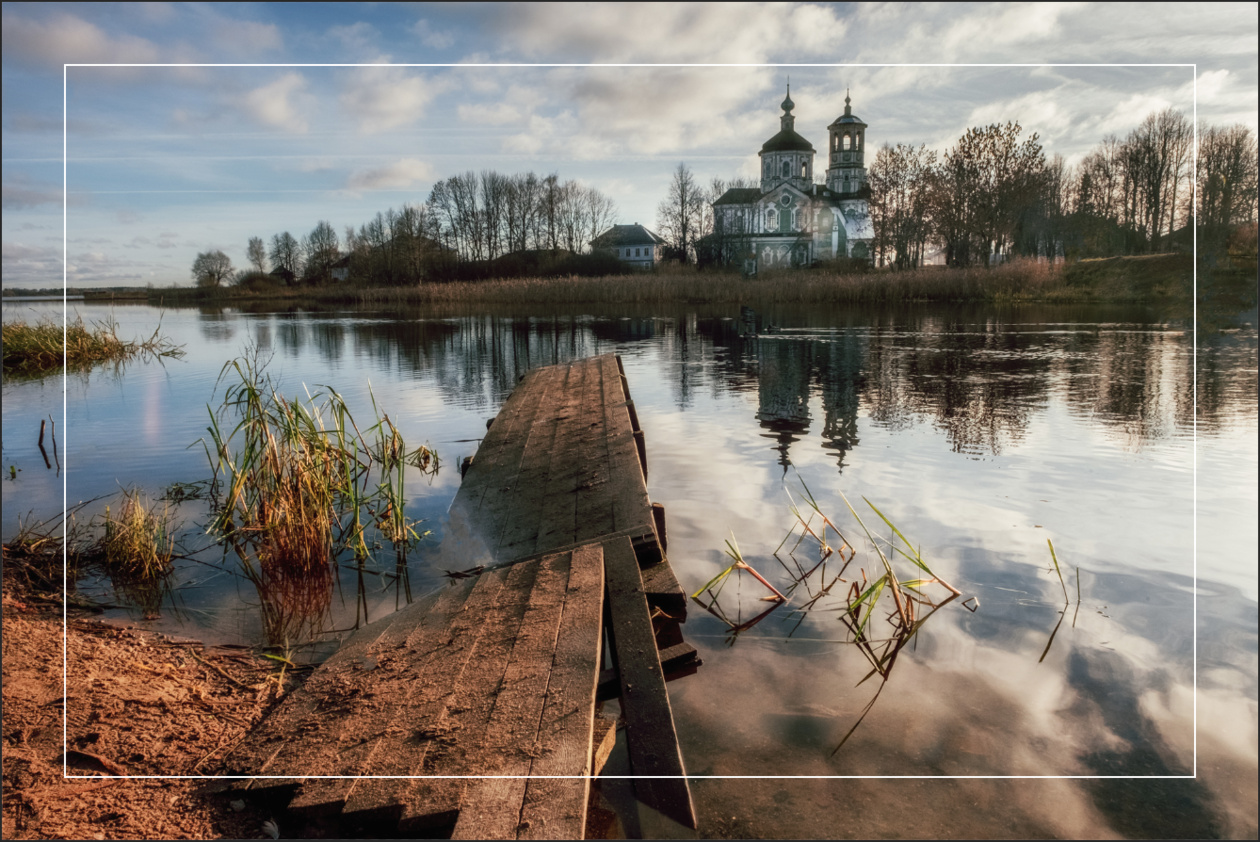
And here is the result.
Frame with jagged edges
How to make a beautiful frame in Photoshop? To do this, you can add a frame with uneven and torn edges to the photo.
As in previous cases, we make a selection indented from the edge of the frame.
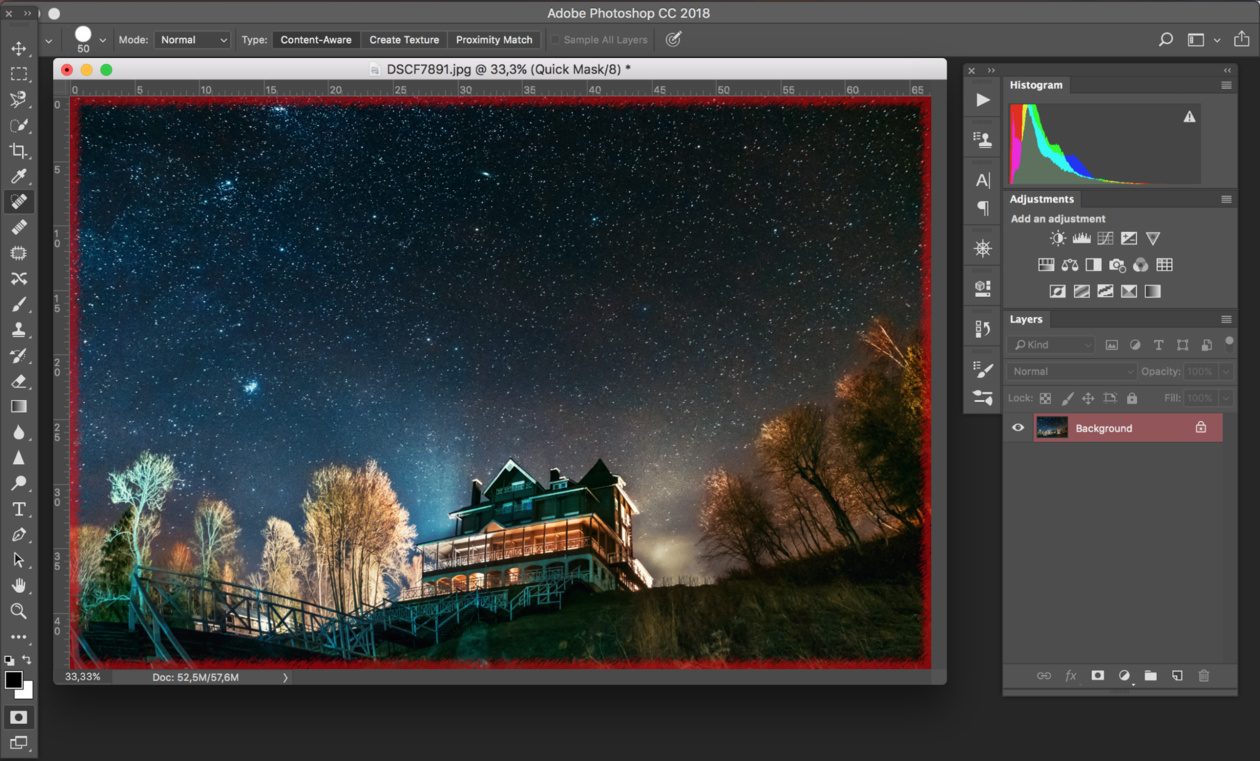
After that, we switch to the quick mask mode either by using the Q key or by clicking on the quick mask icon on the left toolbar.
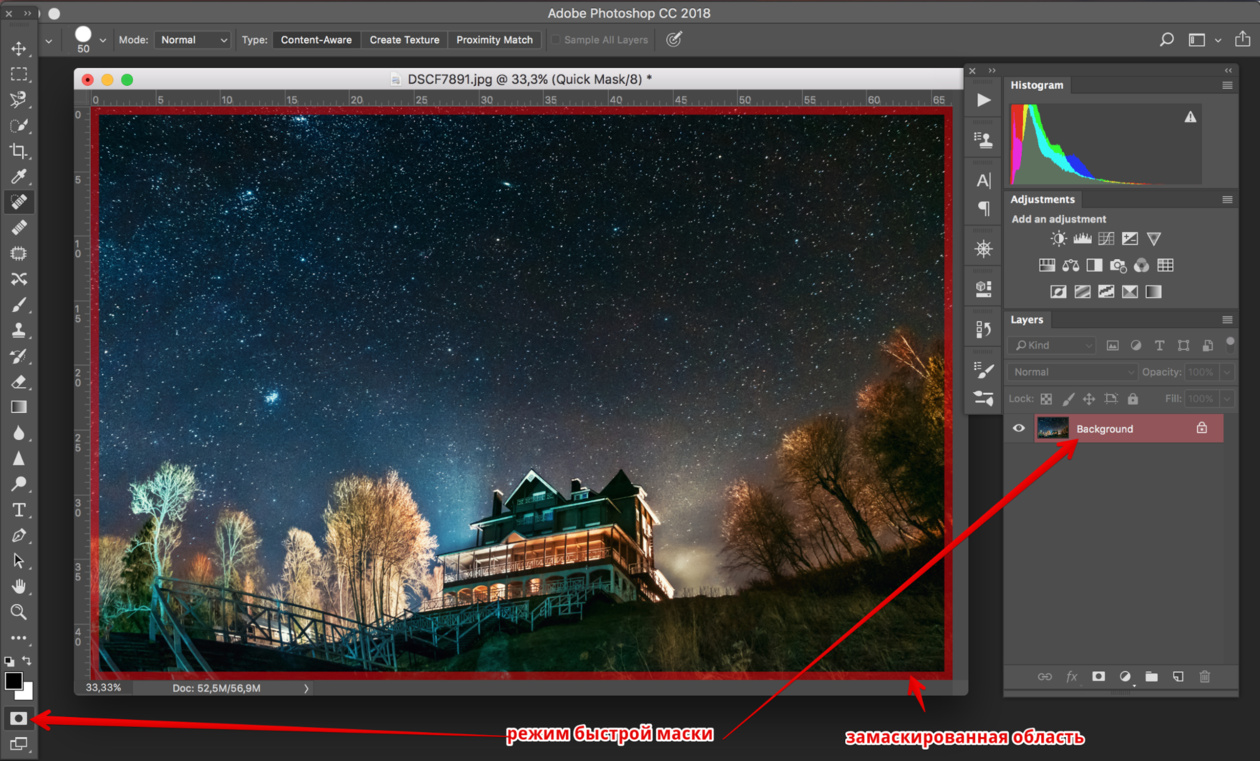
The frame area is now highlighted in red. It remains to add jagged edges to it. To do this, we will use the filters that Adobe Photoshop has in abundance. This is a menu item Filter / "Filter" → Filter Gallery ... / "Filter Gallery ...".

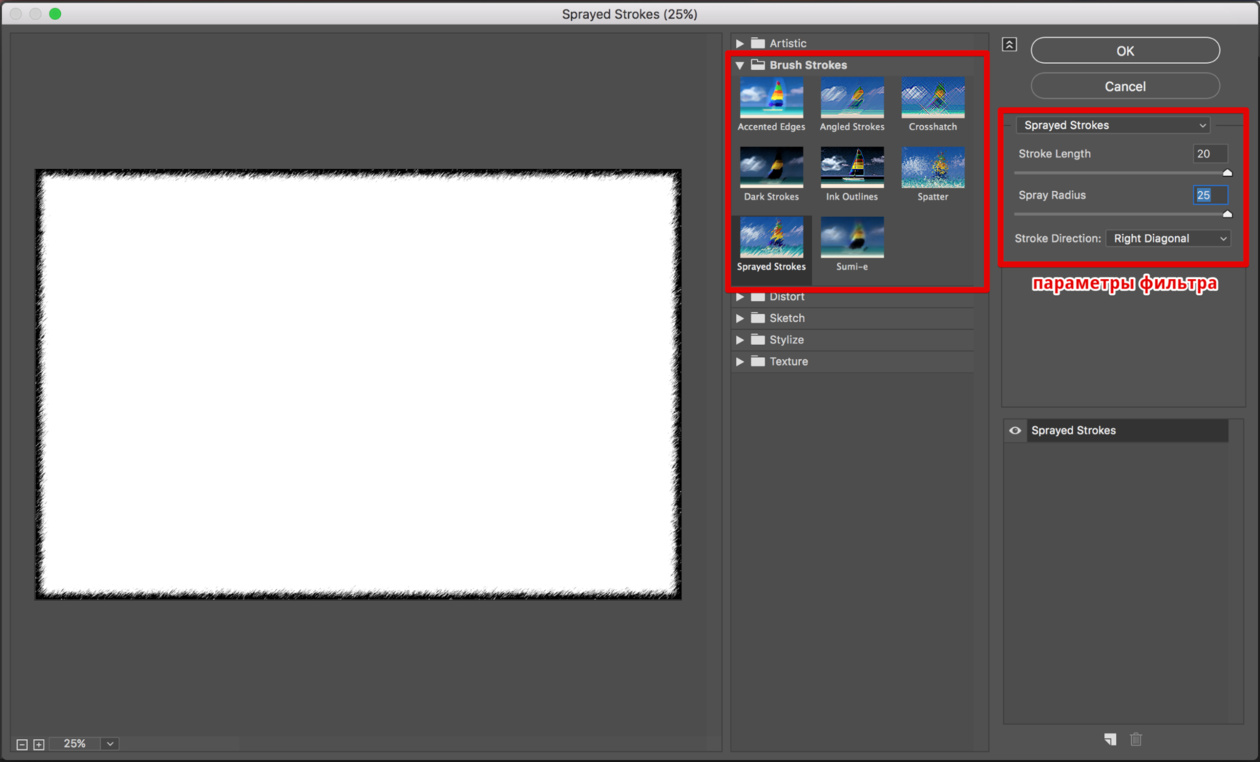
To get the desired effect, we need filters from the block Brush Strokes. Choose the one that suits your taste and set the parameters for it. The higher the resolution of the photo, the higher the parameter values must be, otherwise the effect will not be noticeable.
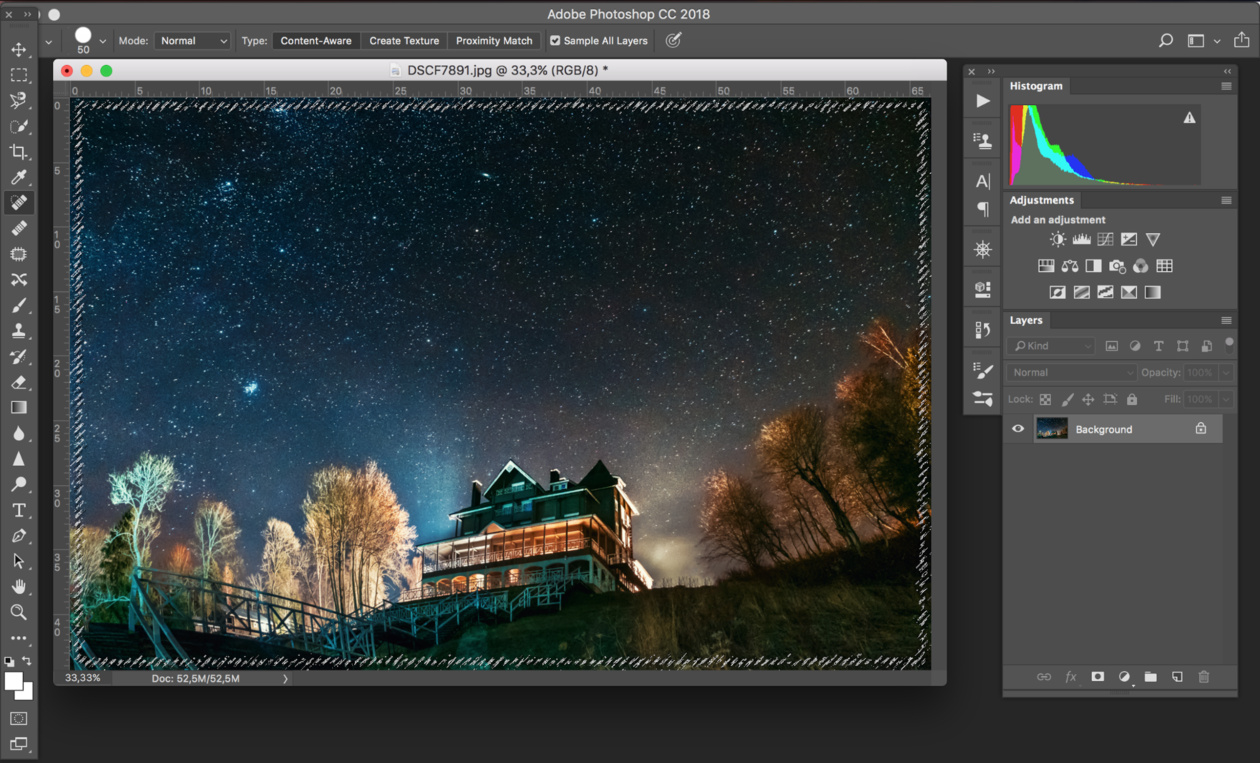
After applying the filter, the torn edges are added to the red quick mask. Exit the quick mask mode by converting the mask to a selection by clicking on the quick mask icon.
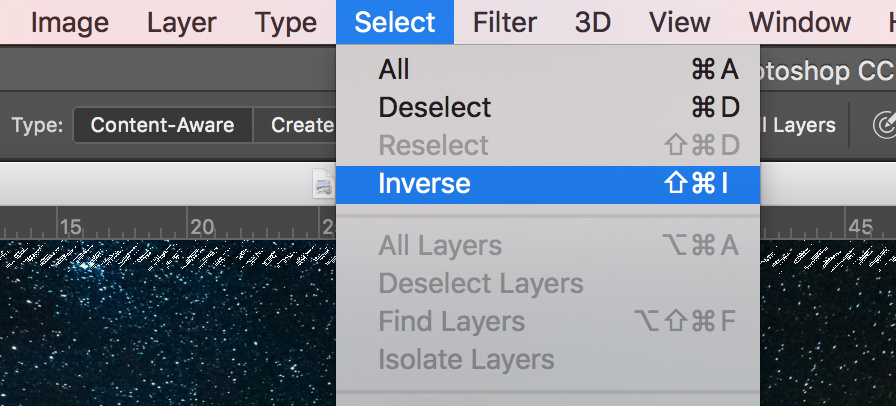
Now invert the selection with the command Select / "Selection" → Inverse / "Inversion".
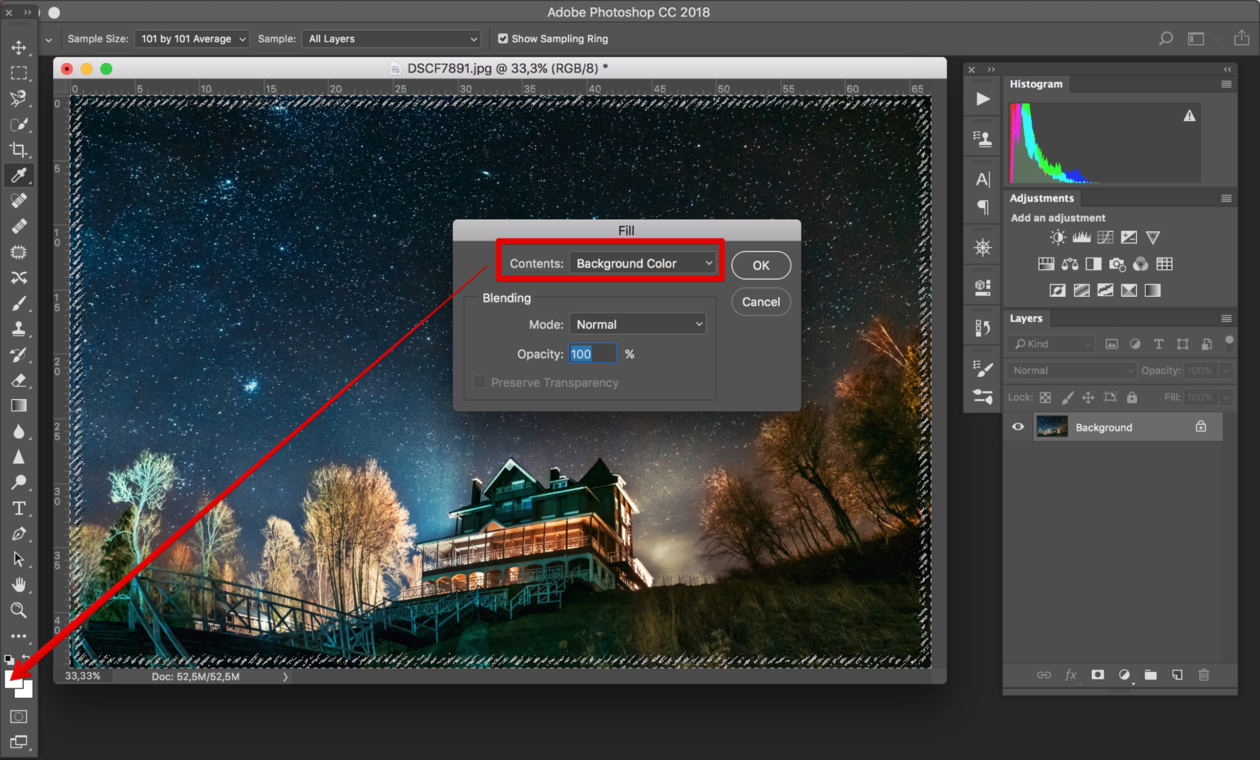
After that, press the key Delete on the keyboard to delete the selection. When deleting, Photoshop prompts you to immediately make a fill instead of the part of the photo that you want to delete. Specify which color to use for the fill.
Here is the result.
Passepartout
All the methods described earlier in this article somehow contributed to cropping a part of the photo and shifting the borders inside the frame. That is, part of the frame overlapped part of the photo. Now let's look at a method that allows you to add a white frame to a photo - an analogue of a passe-partout.
As before, open the photo in Adobe Photoshop and unlock the main layer.
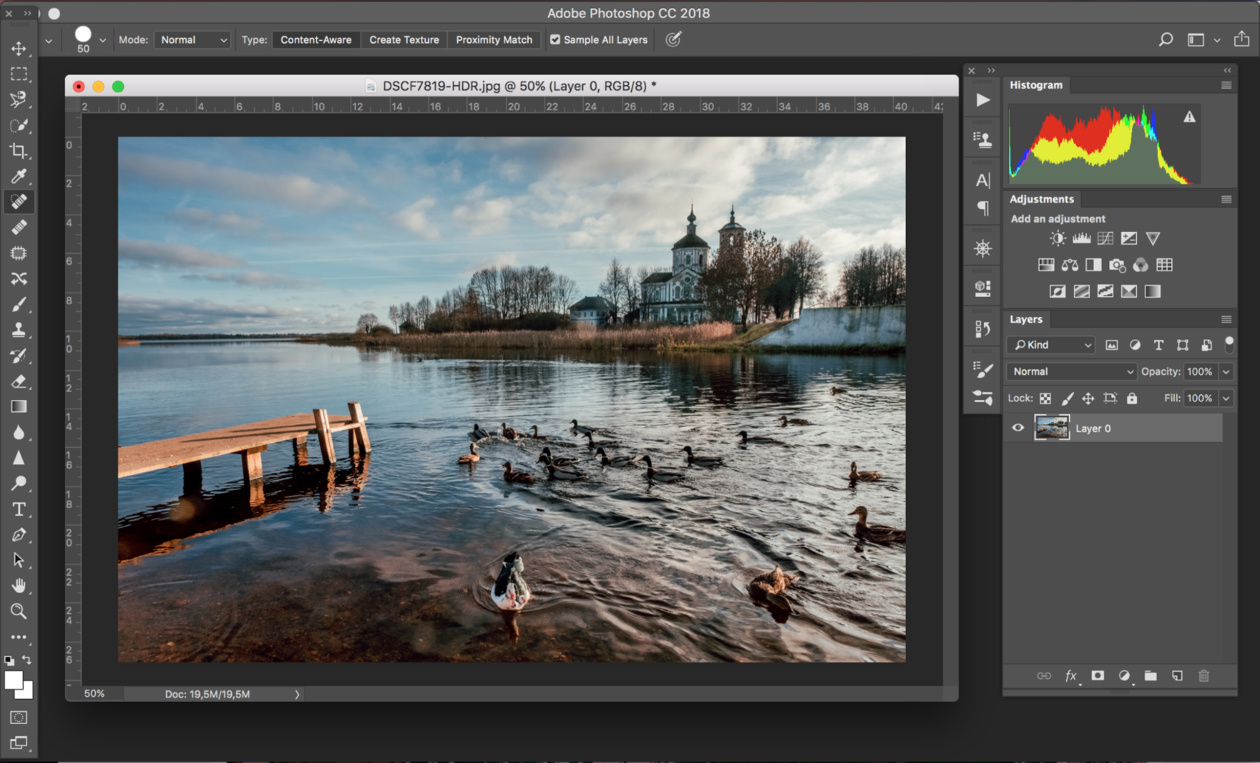
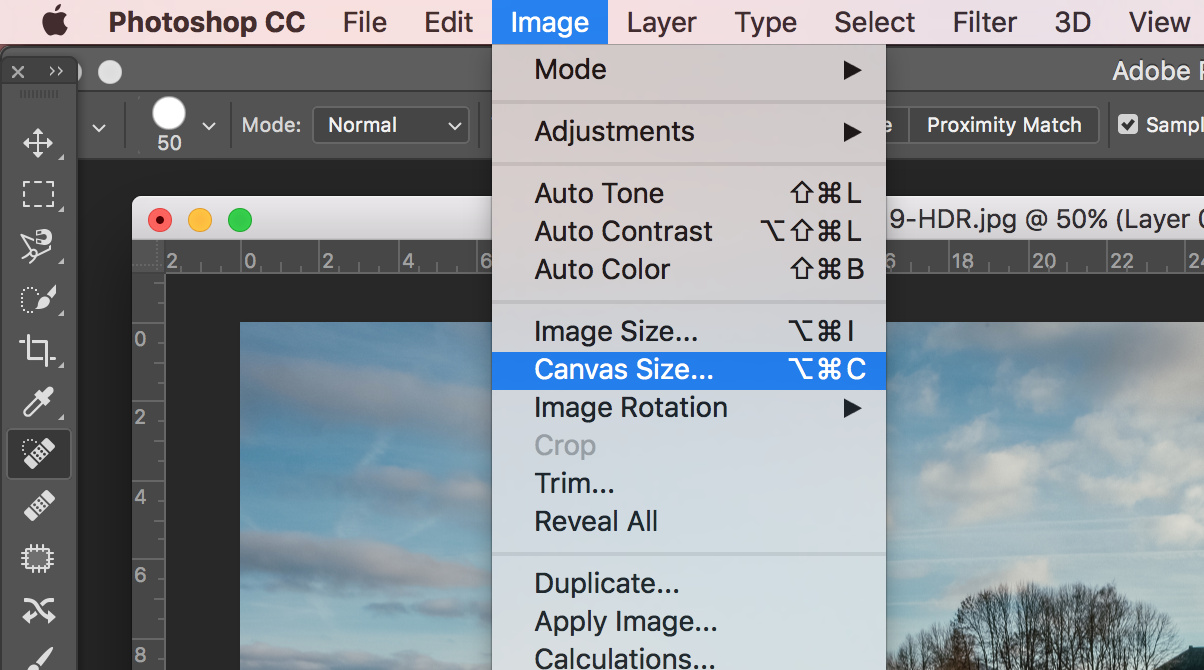
After that, we need to increase the size of the canvas, for which we use the command Image / "Image" → Canvas Size ... / "Canvas Size ...".
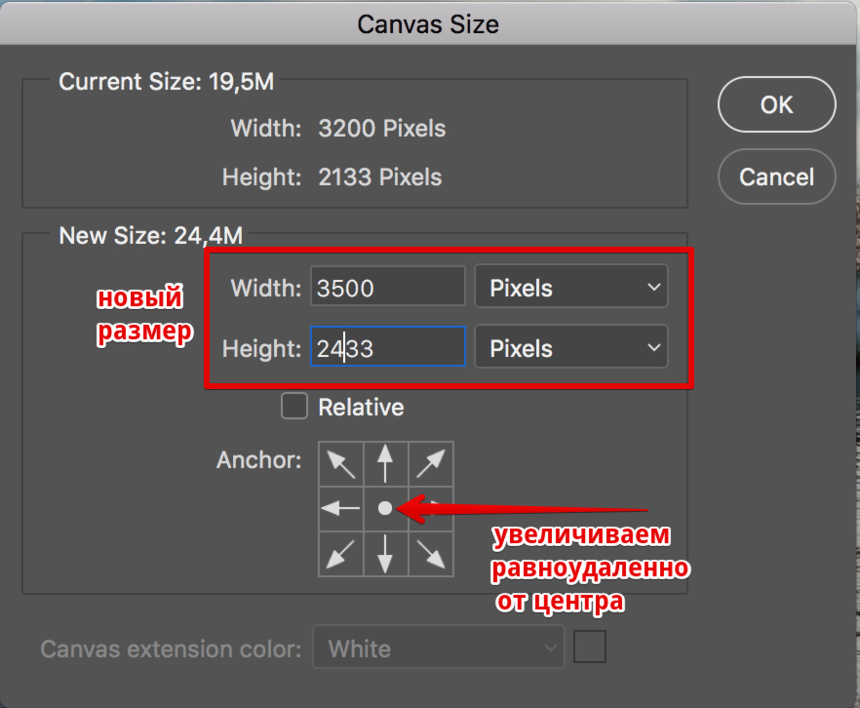
In the dialog box that appears, specify the new dimensions of the canvas. In this case, it is not necessary to enlarge the canvas evenly horizontally and vertically. Here you can experiment.
After applying the command, the size of the canvas will increase and the new areas will be transparent. It remains only to fill them with the desired color.
To do this, create a new empty layer in the layers panel. It will automatically appear above the main layer, we will need to drag it down with the mouse.