How to delete a blank page in Word? How to delete a blank (break), extra page in Word.
Read also
When working with the Word application, everything seems to be clear: you press keys, type letters, add punctuation marks, and periodically format the text using the convenient panel at the top. But there are pitfalls here too. For example, how to delete an extra page in Word? It seems like a simple question, but when you start to figure it out, you understand that you need to behave differently depending on how this extra page appeared.
The dependence on the version in the case of Word is not so serious, but there is still a difference in working with the 2003 program and the 2016 application. Therefore, I will talk about the different versions of Word, including the program for Mac OS and the online editor. It definitely won't be redundant.
Removing an extra page
If you find an unnecessary page filled with symbols in your document, you can get rid of it using the Backspace or Delete key. But before clicking on one of the indicated buttons, select all the text on the sheet. This can be done in different ways:
- Place the cursor at the beginning of the page. Hold down the left mouse button and check the cursor to the end of the fragment that should be deleted.
- Place the cursor at the beginning. Scroll to the end of the section you want to erase. Hold down the Shift key and left-click at the end of the sentence. Any text that appears between the two marks will be highlighted.
To erase the selected part, press Backspace or Delete. In principle, you can do without highlighting by erasing the letters one by one using the same keys.
This will take a little more time, but will lead to a similar result - extra words and sentences will be thrown out of the text, as if they were never there.
Removing a blank sheet
Why does a blank sheet appear? No, this is not an invitation from Word to write more than you intended. It’s just that the page contains extra paragraphs, page or section breaks, and other unprintable characters. By default, they are not displayed, which is why it seems like you have a blank slate in front of you. But if you click on this icon on the top panel, you can find all the non-printing characters. .
Note: if there are no extra sheets in the document, and they only appear when printing, check your printer settings. On some models, you can set the options to print a separator page between different jobs.
This is a convenient feature that allows you to quickly separate different documents if they are printed in one batch. But if you don’t know about its existence, you will probably be surprised to see a blank sheet, for some reason sent through the printer.
If the extra page is at the very end of the document, go to it using the Ctrl+End combination or simply scrolling down the screen. Make sure your cursor is at the very end of the document and press Backspace. This will be enough if the blank sheet appears due to extra paragraph marks or an accidentally inserted break.
Determining the cause
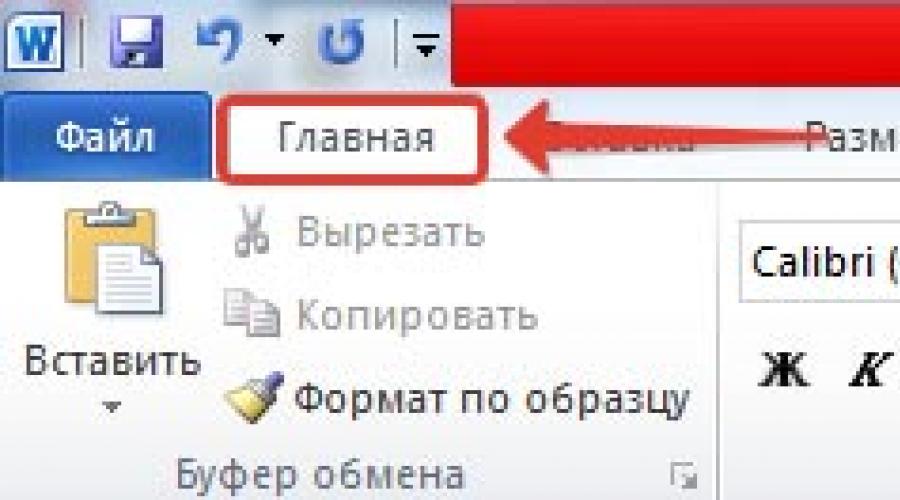
If simply pressing Backspace at the end of a document doesn't solve the problem, try to pinpoint the cause. To do this, turn on the display of non-printable characters and see what is happening on the blank page. This can be done on the “Home” tab - this is relevant for both Windows and Mac. 
If the reason for the appearance of a blank sheet is extra paragraph marks, then you will see these symbols. They need to be selected and erased using the Delete or Backspace key. If the void is caused by inserting a break, place your mouse cursor directly in front of it and press Delete. The operation is similar on Mac and Word Online.
If a blank page appears after a table inserted into a document, then it’s all about the blank paragraph mark, which is added by default.
You won't be able to delete it, but you can hide it.

If you do everything right, the blank sheet will definitely disappear along with the thoughts that you cannot cope with a simple text editing operation in Word.
There are no similar articles.
If you have ever edited someone else's text documents, then you have most likely encountered various problems caused by incorrect work with the text. One such problem is blank sheets that are not removed in the usual way. It is this problem that we will talk about in this material. Here you will learn how to delete a blank sheet in Word 2003, 2007, 2010, 2013 or 2016.
Typically, removing a blank sheet is not difficult. Typically, this is accomplished by placing the cursor at the end of the sheet and removing all line breaks, tabs, and spaces. But, in some cases, this does not work and despite all the user’s attempts, the blank sheet continues to hang in the middle of the document and cannot be deleted.
In most cases, the reason for this behavior is non-printing characters that are on a blank sheet and do not allow it to be deleted. In order to solve this problem, you need to do several actions: enable the display of non-printable characters, remove all non-printable characters from the sheet, delete the empty sheet.
So, the first thing you need to do is enable the display of non-printable characters. If you are using Word 2007, 2010, 2013 or 2016, then for this you need to go to the “Home” tab and click on the button there called “Display all symbols”. In addition, you can activate this button using the key combination CTRL+SHIFT+8.
If you are using Word 2003, then you need to find this button on the toolbar. It's usually next to the drop-down list that controls the zoom of the document.

After clicking this button, all non-printable characters will begin to be displayed in the Word document. This means that now you can delete them and get rid of the empty sheet. Therefore immediately go to an empty sheet and delete everything that is there. Usually on such blank sheets you can find non-printing characters that are responsible for tabs, line breaks, as well as page breaks and section breaks. All these non-printing characters need to be removed. If you can't delete a page break or section break, simply place the cursor in front of the break and press the DELETE key.

After deleting the blank sheet, section breaks can be restored if necessary. To do this, go to the “Page Layout” tab and use the “Breaks” button.
Very often, when downloading MS Word documents from the Internet, you come across those that contain empty, redundant and unnecessary (not of interest) pages. And novice users sometimes have problems when working with this text editor, since they do not know how to delete a blank or extra page in Word. It also causes difficulties with removing page breaks.
Remove an unnecessary page in a Word document 2003, 2007, 2010
It doesn't matter which version of Word you use, be it 2003, 2007, 2010 or even 2013. The solution is universal everywhere.
In order to remove a blank or extra page in Word, you should:
Please note that you can delete a page (or section of a page) without enabling/disabling the display of invisible characters. This just makes the job easier.
To view line breaks, there is an alternative to the ¶ button. You can go to the section "View" and activate the mode "Structure".

Video: how to remove a blank (page break), extra or unnecessary page in Word.
Sometimes when working with the Microsoft Word text editor, the following problem may arise - a blank sheet appears. Everything would be fine, but by accident it can be created in the middle of the document, and this will disrupt the duplex printing process or disrupt the page numbering.
In general, you should always get rid of blank sheets, otherwise at the end of the work you may end up with a defect. To avoid possible problems, I recommend that you always use the “Preview” function before printing. You can launch it by clicking on the " Office» — « Seal» — « Preview».
Now we return to our blank sheets. So, our task is to remove the blank sheet from the document. Pages for a document in MS Word are created by pressing just one button, which is located in the “ tab Insert" But removing the sheet will not be so easy, although this is also not a very difficult process.
Another option to create a sheet is to click on the button Enter. That is, by pressing this button many times you can reach the end of the current page and go to a new one. Accordingly, in order to remove the sheet you need to remove the indents, and you can do this using the buttons " Delete" And " Backspace».
It's very simple. Similarly, you can remove the blank page located in the middle of the document.
By the way, the “” button can help you figure out where the indents are. Show all icons" Clicking on it will allow you to see all the indents between words or the presence of paragraphs in any part of the document.
Also be sure to review the empty page and its predecessor, since the first one could have been created due to the created " Page break" You can remove it using the same buttons " Delete" And " Backspace».

Well, another option for deleting a blank page is the key combination “ Ctrl+Z"—cancel the previous action performed. That is, when using this combination, you cancel the last action you performed, which could be clicking on the “Page Break” button or adding an extra indent using Enter.
If for some reason you do not have access to the keyboard, then in the text editor window there is a “Cancel input” button. It is located in the upper left part of the Microsoft Word program window, near the “ Office».

Now you know how to quickly and easily remove a blank sheet in Word. This article reviewed instructions for MS Word 2007, but other versions of this text editor also have a similar set of tools.
Correctly identifying the cause of the appearance of extra pages will help quickly resolve the problem. Regardless of the version of Microsoft Word (2003-2016), there are 4 main reasons for the existence of blank pages at the end of a document:
- Unnecessary problems or new lines.
- Presence of hidden symbols.
- Moving part of a table.
- The presence of a transparent or white pattern (rare).
Reasons for a blank page
If, when working with a document during the editing process, pages appear that do not contain text, most likely there are page breaks or empty paragraphs on it.
Note: If a blank page appears only when printing a document, then the problem is in the printer settings (page between jobs).
Method 1: Removing extra spaces and paragraphs
The easiest way is to delete the extra page using the Backspace or Delete keys, designed to remove characters from text.
Step 1. Go to the last page of the document and place the cursor on it.
Step 2. Press the indicated keys until the unnecessary page disappears.
Step 3. If there are a lot of empty paragraphs on the page, then the key will have to be pressed several times.
Method 2: Remove hidden characters
Since the appearance of a blank page usually means that there are hidden characters on it, in order to remove them, you need to make them visible.
Step 1. You need to click on the “non-printing characters” icon, which is located on the main tab. By turning on the display of hidden characters, you can see the reasons for the appearance of an extra page and eliminate them.
Step 2. Highlight the extra empty paragraphs and delete them.
Step 3. In addition to empty paragraphs, a manually forced page break or section break can cause a blank page to appear.
To delete it, place the cursor in front of the break and press the Delete key.
Method 3: Edit the table
If you couldn't delete the page using the previous two methods, you probably have a table at the end of your document. In Word, after each table there is an empty paragraph, and if the table reaches the end of the page, the paragraph is moved to the next one. You won't be able to simply remove this empty paragraph symbol. In order to remove a blank sheet, you need to make this paragraph hidden.
Step 1. Show hidden spaces.
Step 2. If the table creates a gap on the next page, then reduce the line spacing of the table cells or the font, remove unnecessary transitions to new lines.
How to delete the first page in Word
To remove the cover page in the latest versions of Microsoft Word, you need to follow these steps.
Step 1. Go to the "Insert" tab.
Step 2. Select the "Cover Page" menu.
Step 3. Specify the appropriate value – “Delete current cover page”.
In versions earlier than 2007, the cover page is no different from all other pages in the document, so similar methods are used to remove it.
How to delete a page in the middle of a document
The appearance of an unnecessary blank page in the middle of a Word document is usually associated with a section break. This function is rarely used in practice and is mostly added to the document accidentally during editing.
Method 1: Remove the section break (Method 1)
An extra page in the middle of a text document usually appears due to a section break. It can be removed using the following steps.
Step 1. Place the cursor in front of the break.
Step 2. Press the Delete key.
Note: If you remove a blank page from the middle of a document that is the result of a section break, the formatting may change after the section break is removed. If you need different formatting after this page than before this page, then leave a section break. Otherwise, when you delete a break, the formatting will automatically become the same throughout the entire document - the same as it was in the text located before the break.
Method 2: Remove the section break (Method 2)
Step 1. Go to the “Layout” tab.
Step 2. Change the type of break - set to “no break”.
Now you know how to delete a page in Word. The tips listed can be applied in Microsoft Word of all versions.
How to delete a blank page in Word - instructions with animation updated: February 15, 2019 by: Scientific Articles.Ru